So, you're diving into the world of wallet size photos, huh? Let me tell you, these little gems are more than just tiny pictures—they're little pieces of memories that fit right into your pocket. Whether you're prepping for a passport application, ID badges, or just want some cute prints of your furry best friend, knowing wallet size photo dimensions is crucial. Stick around, and we'll break it all down for you!
Let's face it, the internet can get pretty overwhelming when you're trying to find the right dimensions for wallet-sized photos. Some sites give you half the story, others throw random numbers at you, and before you know it, you're scratching your head wondering what's real and what's not. That's why we're here—to clear the fog and give you the straight scoop.
This guide is packed with everything you need to know about wallet size photo dimensions. From standard sizes to printing tips, we've got you covered. So grab a snack, sit back, and let's get started on this photo adventure!
Read also:Islamyla Onlyfans Leaked Facts Myths And The Truth Behind The Controversy
Understanding Wallet Size Photo Dimensions
What Are Wallet Size Photos?
Wallet size photos are those adorable mini prints that fit perfectly in your wallet, purse, or even a small photo album. They're perfect for sharing moments with friends, family, or just keeping a little piece of someone close to you. But what exactly are the wallet size photo dimensions you should be working with?
Well, they typically measure around 2.5 x 3.5 inches. That's roughly 6.35 x 8.89 centimeters for our metric-loving friends. These dimensions are pretty standard across the board, but it's always a good idea to double-check with the specific requirements if you're using them for official documents.
Standard Wallet Size Photo Dimensions
Why Stick to Standard Sizes?
Sticking to standard wallet size photo dimensions ensures that your prints will fit wherever you need them. Whether it's for a driver's license, a student ID, or just personal use, having the right size means no cropping or resizing headaches later on.
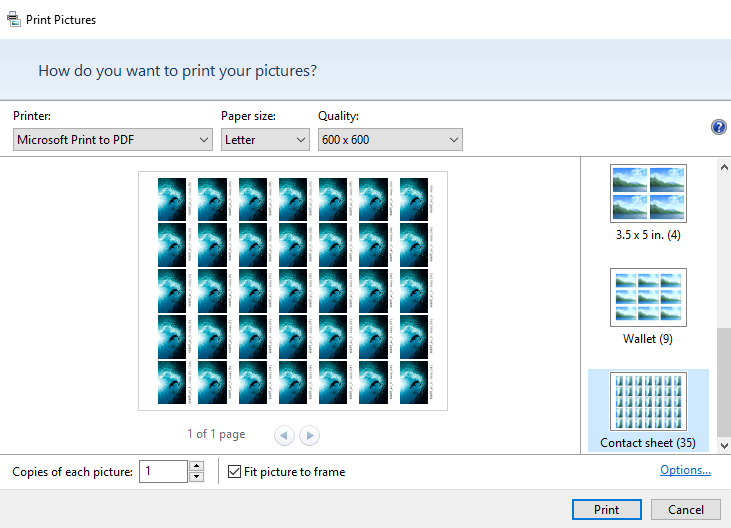
- Standard wallet size: 2.5 x 3.5 inches
- Other common sizes: 2 x 2 inches, 2.17 x 2.83 inches
- Resolution: Aim for at least 300 DPI for sharp prints
Remember, the resolution is just as important as the dimensions. A high DPI ensures your photos look crisp and clear, even in these small formats.
Common Uses for Wallet Size Photos
Where Do You Need Wallet Size Photos?
Wallet size photos are versatile little guys. They pop up in all sorts of places, from official documents to personal keepsakes. Here are some common uses:
- Passport photos
- ID badges
- Driver's licenses
- Business cards
- Personal albums
Each of these uses may have slight variations in size or requirements, so it's always smart to verify before printing. For instance, passport photos might need a specific background color or head-to-body ratio.
Read also:Iribitari Gal Live Action Exploring The Adaptation Of A Beloved Manga
Printing Wallet Size Photos
Tips for Perfect Prints
Printing wallet size photos might seem straightforward, but there are a few tricks to getting them just right. Here are some tips:
First off, choose the right paper. Glossy photo paper gives you that professional look, while matte finishes are great for reducing glare. Next, make sure your printer settings are on point. Set the resolution to at least 300 DPI for the best quality.
And don't forget about cropping! Even if your image is the right size, you might need to adjust it slightly to fit perfectly within the wallet size photo dimensions. Most photo editing software has built-in cropping tools that can help with this.
Choosing the Right Camera Settings
How to Capture Perfect Wallet Size Photos
Your camera settings play a big role in how your wallet size photos turn out. Here's what you should focus on:
- Resolution: Set your camera to capture images at a high resolution. This ensures your photos will look sharp even when printed small.
- Aspect Ratio: Stick to a 4:3 aspect ratio for wallet size photos. This matches the standard dimensions perfectly.
- Lighting: Good lighting is key. Natural light is often the best choice, but if you're shooting indoors, make sure your lighting is even and not too harsh.
By tweaking these settings, you'll capture photos that are ready to print without much editing needed.
Editing Your Wallet Size Photos
Software and Tools to Use
Editing your wallet size photos can make a world of difference. Even if you've got great camera settings, a little touch-up never hurts. Here are some tools you can use:
- Adobe Photoshop: A powerhouse for editing, but it can be a bit heavy on the learning curve.
- Canva: Super user-friendly and great for quick edits or designing layouts for multiple prints.
- GIMP: A free alternative to Photoshop that offers a lot of the same features.
When editing, focus on adjusting brightness, contrast, and color balance. These tweaks can really bring your photos to life.
Where to Print Wallet Size Photos
Top Places for Printing
So you've got your photos edited and ready to print, but where do you go? Here are some top spots:
- Local Print Shops: Great for quick turnaround times and often offer same-day services.
- Online Print Services: Companies like Shutterfly or Snapfish offer competitive pricing and high-quality prints.
- Home Printers: If you've got a decent printer at home, you can save money by printing them yourself.
No matter where you choose to print, make sure they offer the exact wallet size photo dimensions you need.
Common Mistakes to Avoid
Don't Let These Trip You Up
Mistakes happen, but they can be costly when it comes to printing wallet size photos. Here are a few common ones to watch out for:
- Incorrect Dimensions: Always double-check that your photos are the right size before printing.
- Low Resolution: Grainy prints are a no-go. Stick to at least 300 DPI.
- Wrong Background: Some uses require specific background colors, like white for passports.
Avoiding these pitfalls will save you time, money, and frustration.
Advanced Tips for Wallet Size Photos
Taking It to the Next Level
Ready to step up your wallet size photo game? Here are some advanced tips:
Consider batch printing if you're doing a lot of photos. Many services offer discounts for bulk orders. Also, experiment with different paper types to see which you prefer. Some people love the glossy look, while others opt for a more natural matte finish.
And don't forget about creativity! You can design photo strips, custom frames, or even photo books using wallet size photos. The possibilities are endless!
Conclusion: Your Wallet Size Photo Journey
So there you have it, everything you need to know about wallet size photo dimensions. From understanding the basics to advanced tips, we've covered it all. Remember, the key to great wallet size photos is in the details—get the dimensions right, use the right settings, and don't be afraid to edit a little.
Now it's your turn! Take what you've learned and start creating those perfect little prints. And don't forget to share your experience with us. Drop a comment below, let us know how your wallet size photo adventure goes, and check out our other articles for more photo tips and tricks!
Table of Contents
- Understanding Wallet Size Photo Dimensions
- Standard Wallet Size Photo Dimensions
- Common Uses for Wallet Size Photos
- Printing Wallet Size Photos
- Choosing the Right Camera Settings
- Editing Your Wallet Size Photos
- Where to Print Wallet Size Photos
- Common Mistakes to Avoid
- Advanced Tips for Wallet Size Photos
- Conclusion: Your Wallet Size Photo Journey